

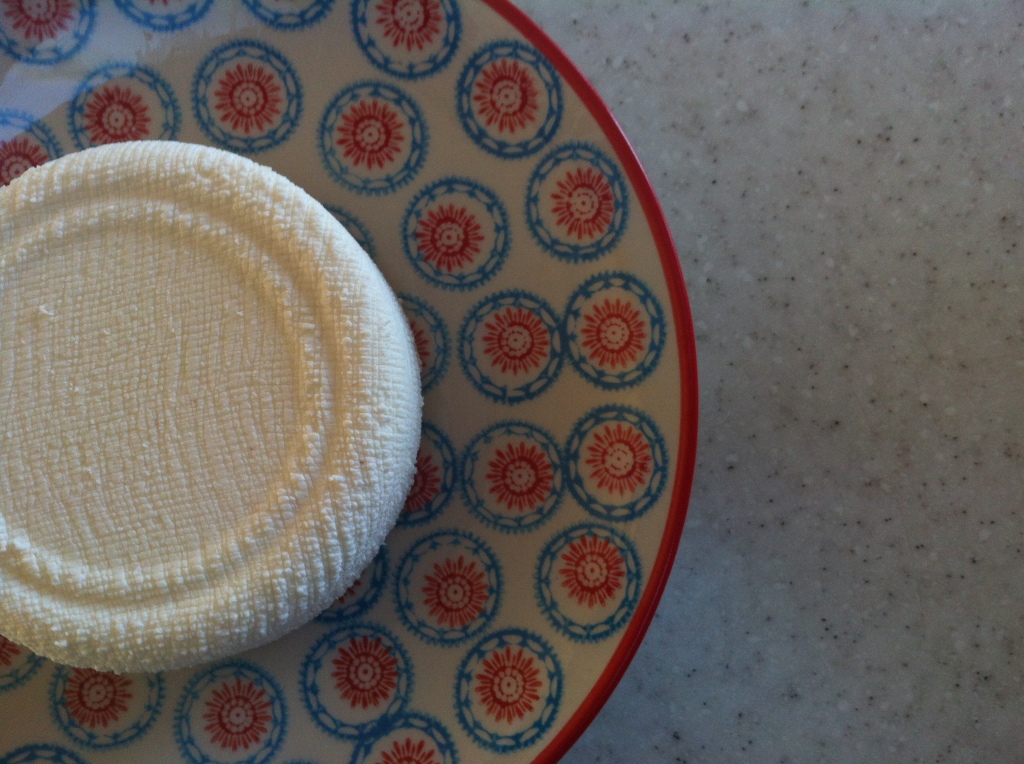
By Megan Cole
Inspired by our recent post on the DIY food movement, we’ve decided to take the bull by the horns and tackle some DIY food projects ourselves. In my kitchen, I’m relatively fearless when it comes to trying to recipes or food adventures. I was intrigued by cheesemaking after I bought Home Made: The Ultimate DIY Cookbook Featuring over 200 From-Scratch Recipes by Yvette Van Boven. Van Boven breaks cheesemaking down into this step-by-step, idiot-proof process, and with that as my guide I decided to take on the world of cheese and share the process with you the same way Van Boven did with photos and easy explanations.
The first step is to get yourself ready. To make one round of cheese you will need to prepare a 14-ounce can, which means removing one top and leaving the bottom intact. I used a tomato can that had been emptied for dinner the night before. Find a smaller can (this will serve as a weight) that will fit into your 14-ounce can. The final two things you’ll need is a piece of cheese cloth or fine fabric, and a piece of rope, an elastic band, or a piece of elastic that will hold it all together. I will explain the elastic later.
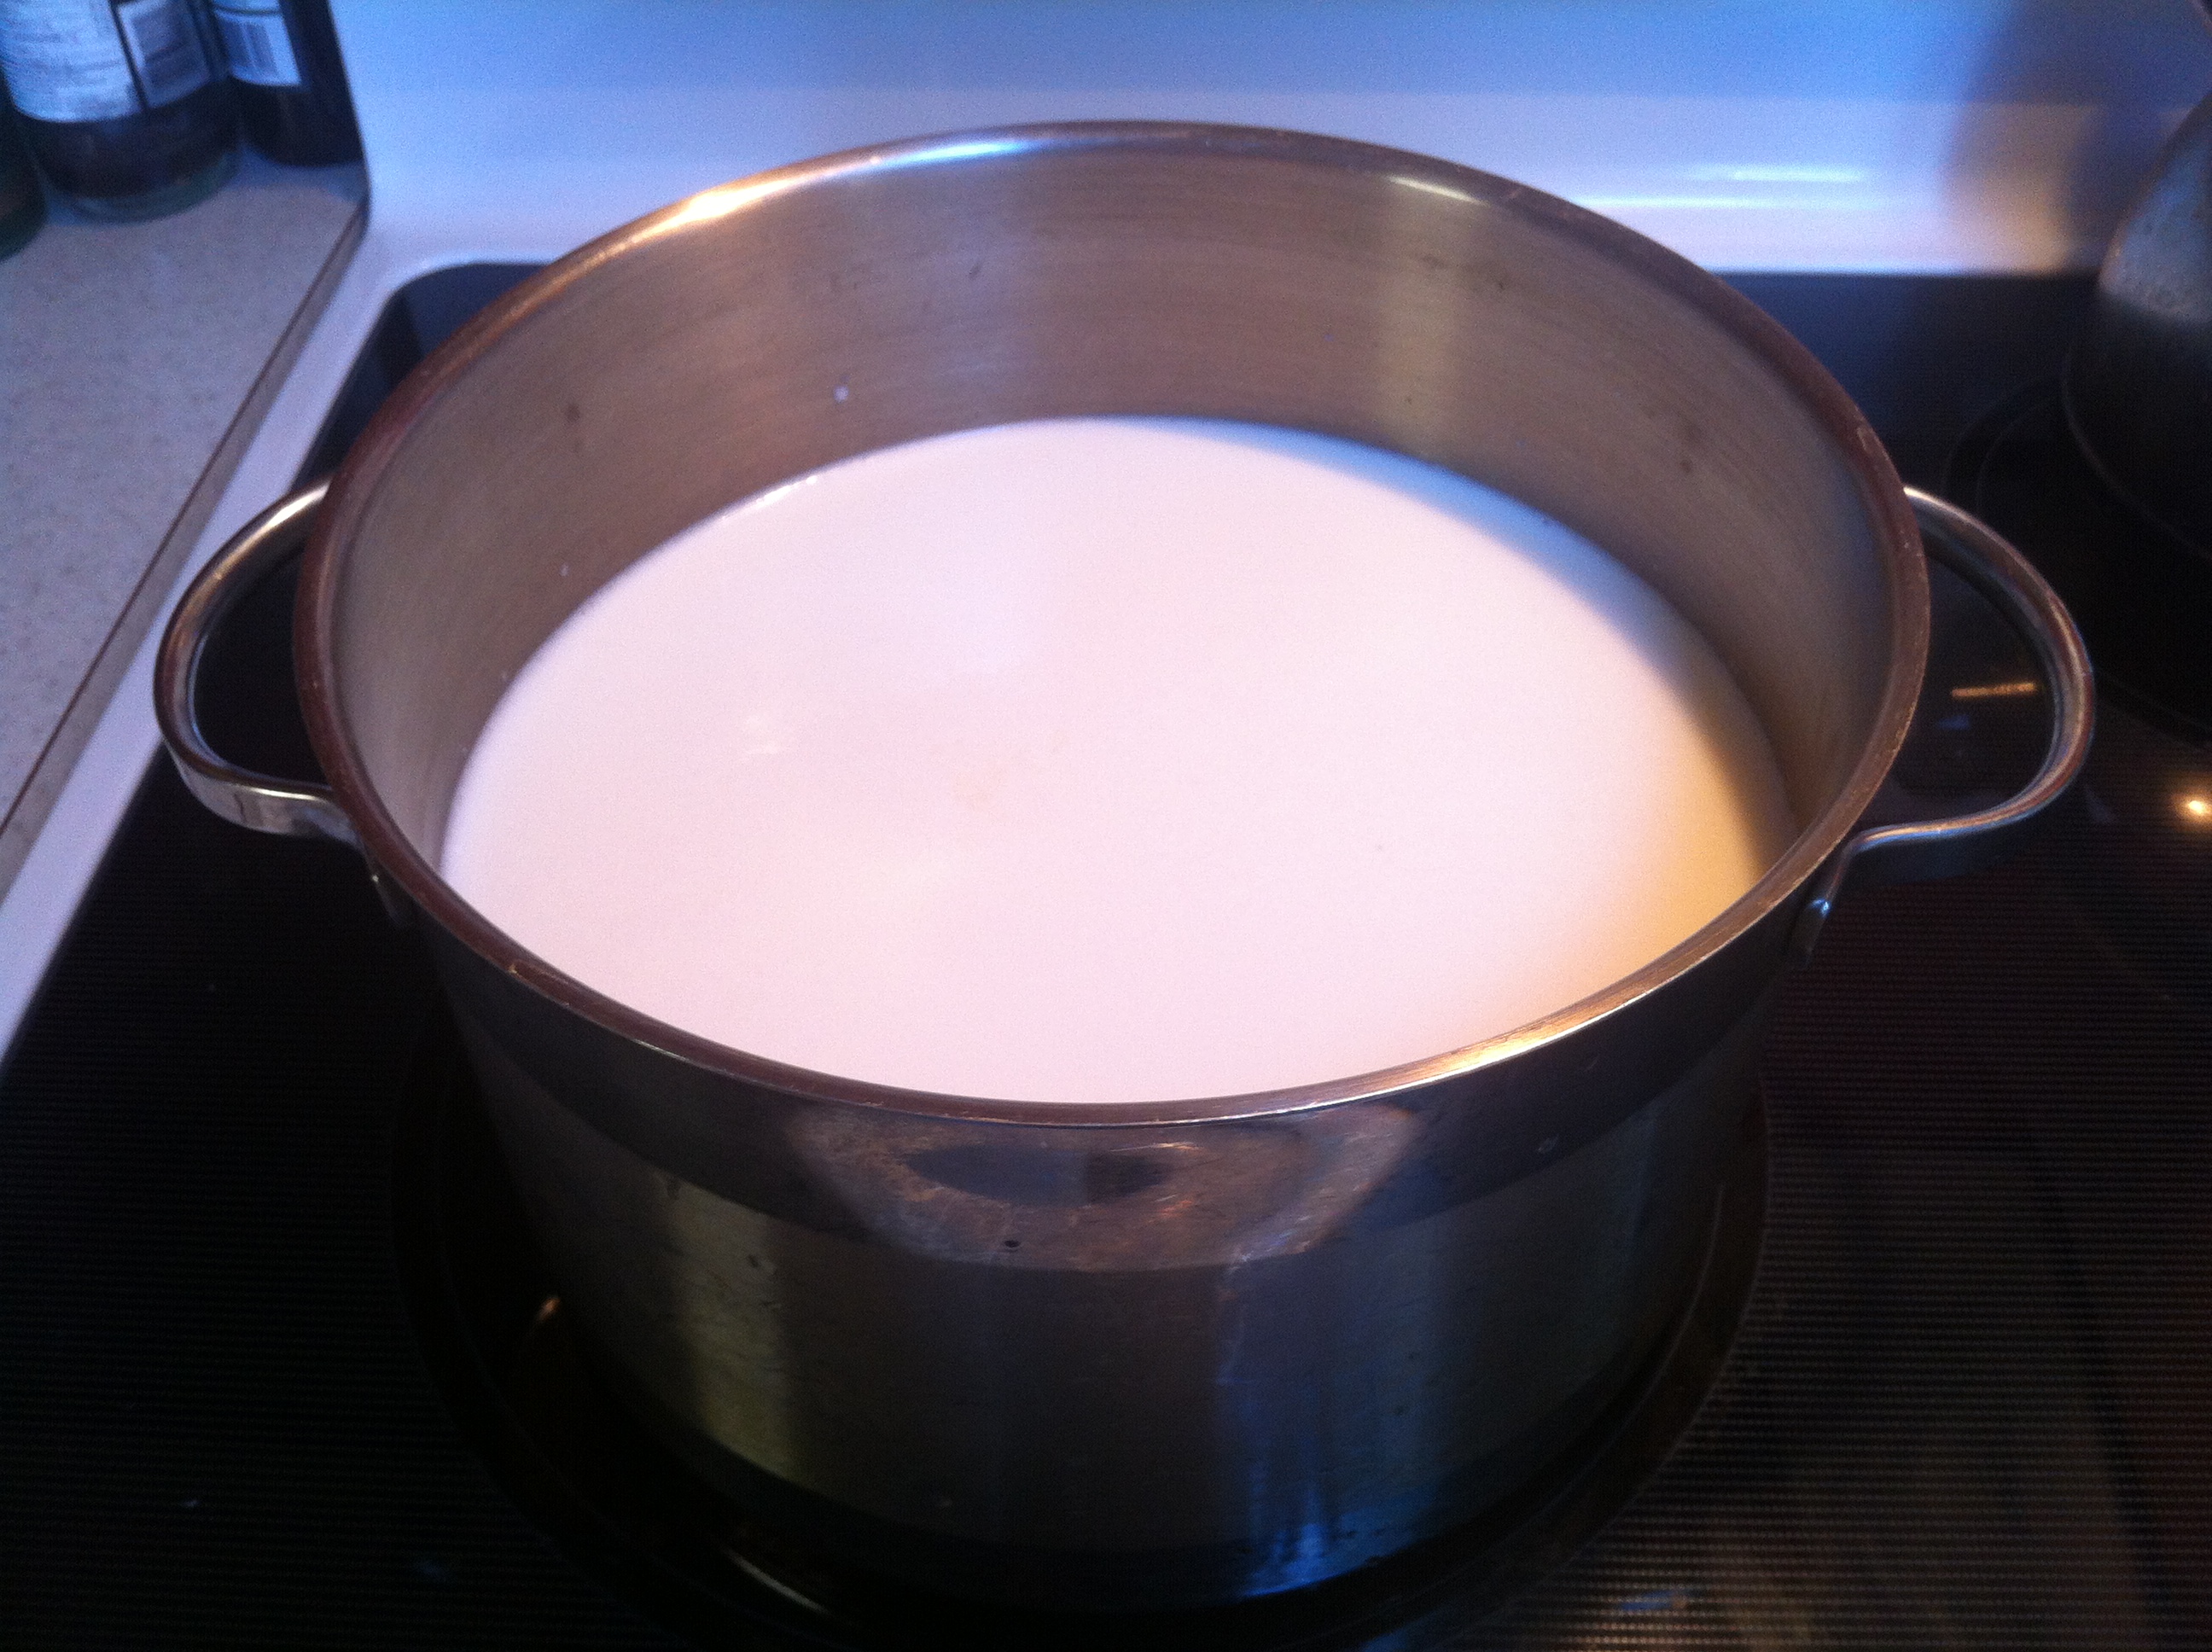
Heat four cups of organic milk and four cups of organic buttermilk with a few drops of lemon juice. For the purposes of this article, I doubled the recipe to make two rounds of cheese.
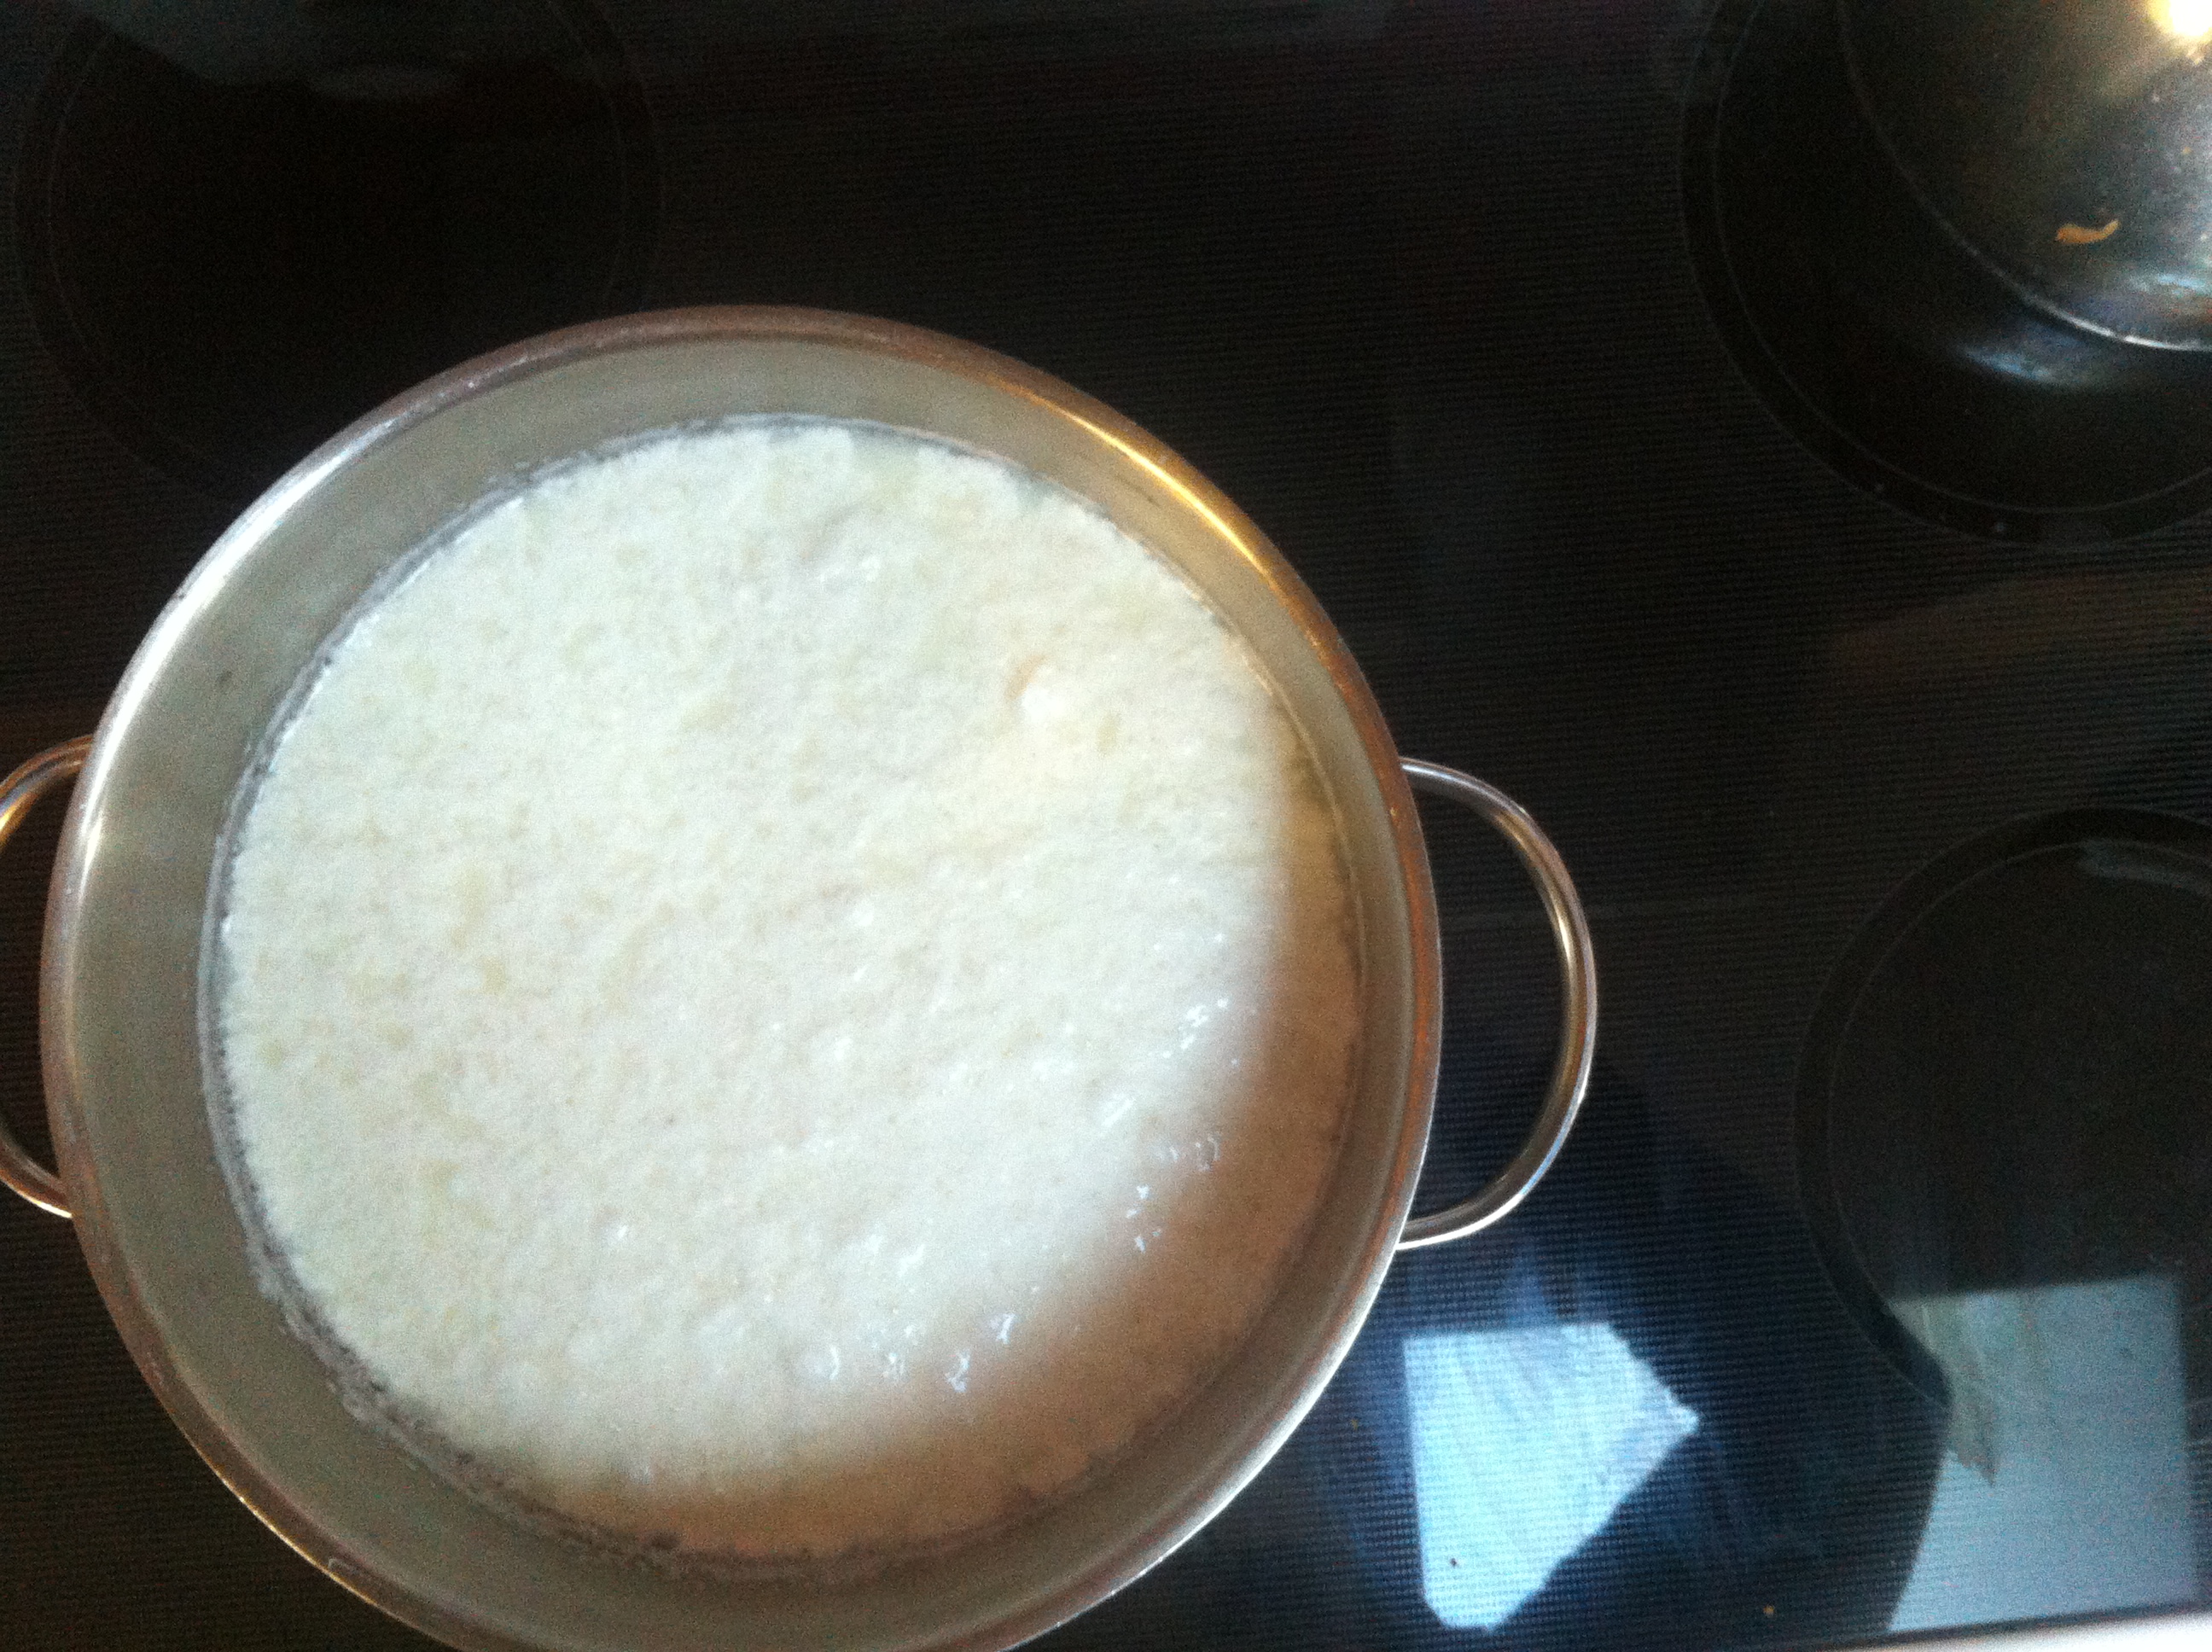
Just before the milk comes to a boil you’ll notice the milk will start to divide into curds and weigh. It looks kinda creepy and gross, but don’t worry, it’s supposed to happen. When you notice it has started to separate, be sure to keep stirring the milk for another minute.
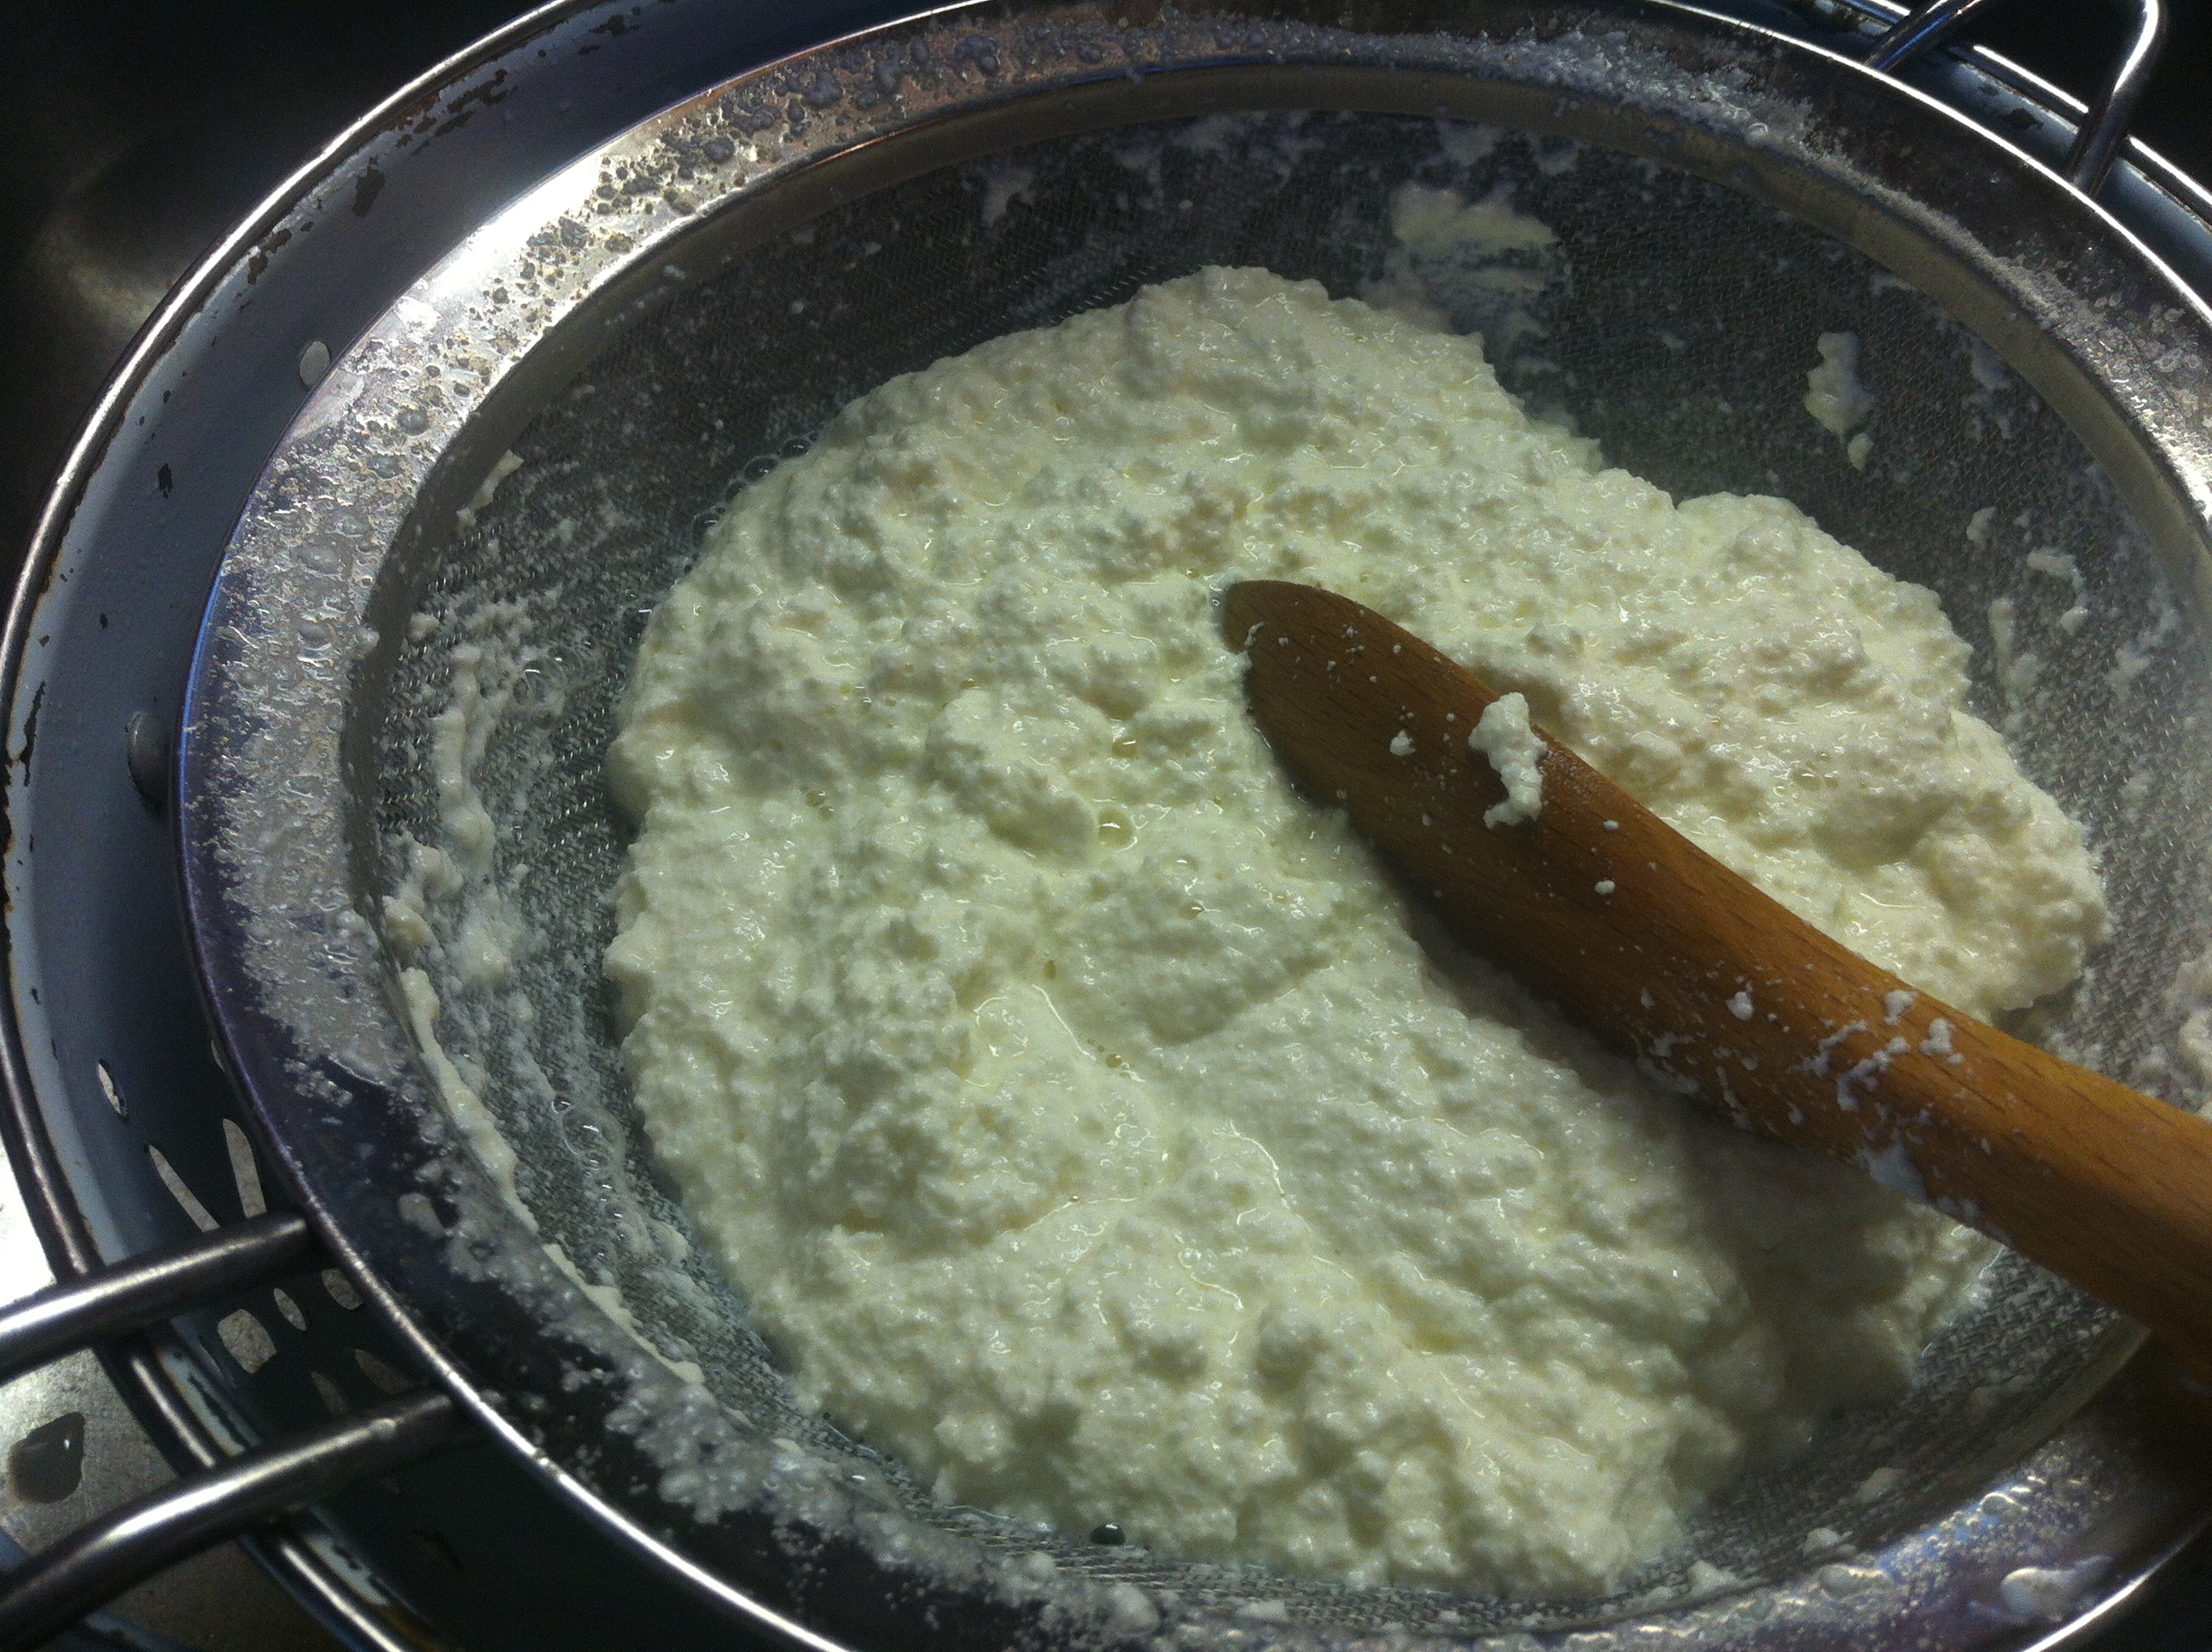
I set a sieve over a large mixing bowl so I could save the whey for future lacto-fermentation projects, but you don’t have to save the whey, you can just strain the cheese right over the sink. Pour the contents of your pot into the sieve and stir until all you have left is nice thick, creamy curds in the sieve. Guess what?! You’ve already made cheese; that’s ricotta in the sieve. If you want to make really thick ricotta, I’ve seen some people put their ricotta into cheese cloth and let it continue to drain overnight, over their sink. But we’re not done yet.
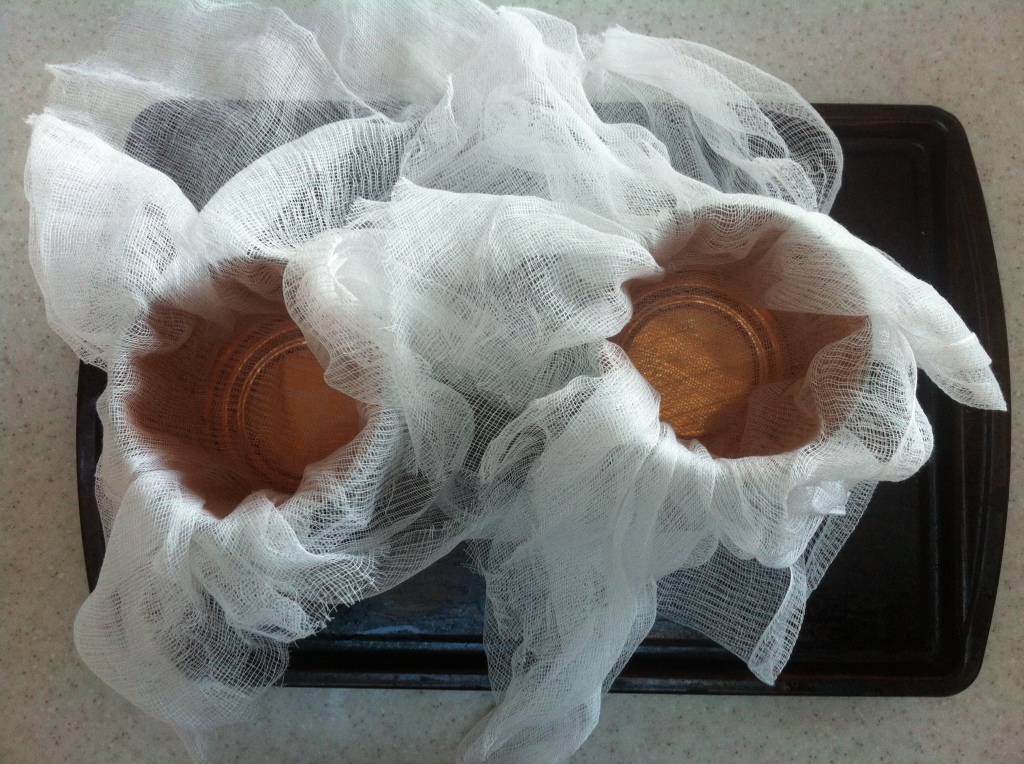
Put a double layer of cheesecloth in your cans (remember, I have two cans because I doubled my recipe.) Dump the contents of your sieve into your cans, cover with cheesecloth and trim any access cloth.
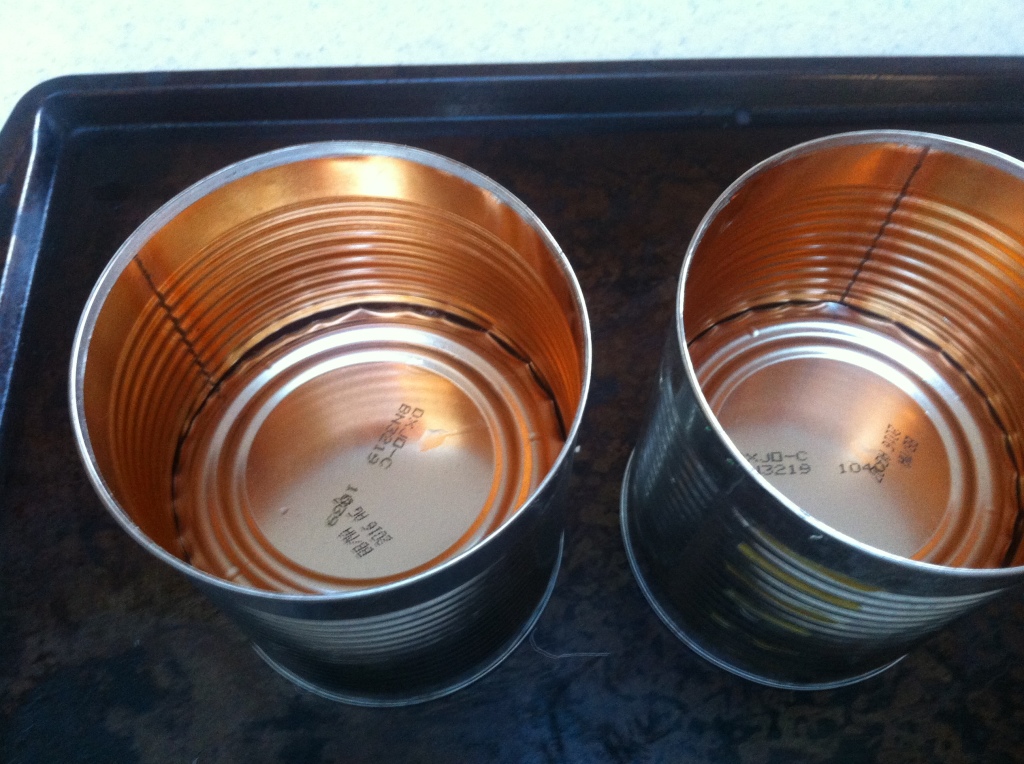
Put the tops of your cans on your cheese cloth and cheese.
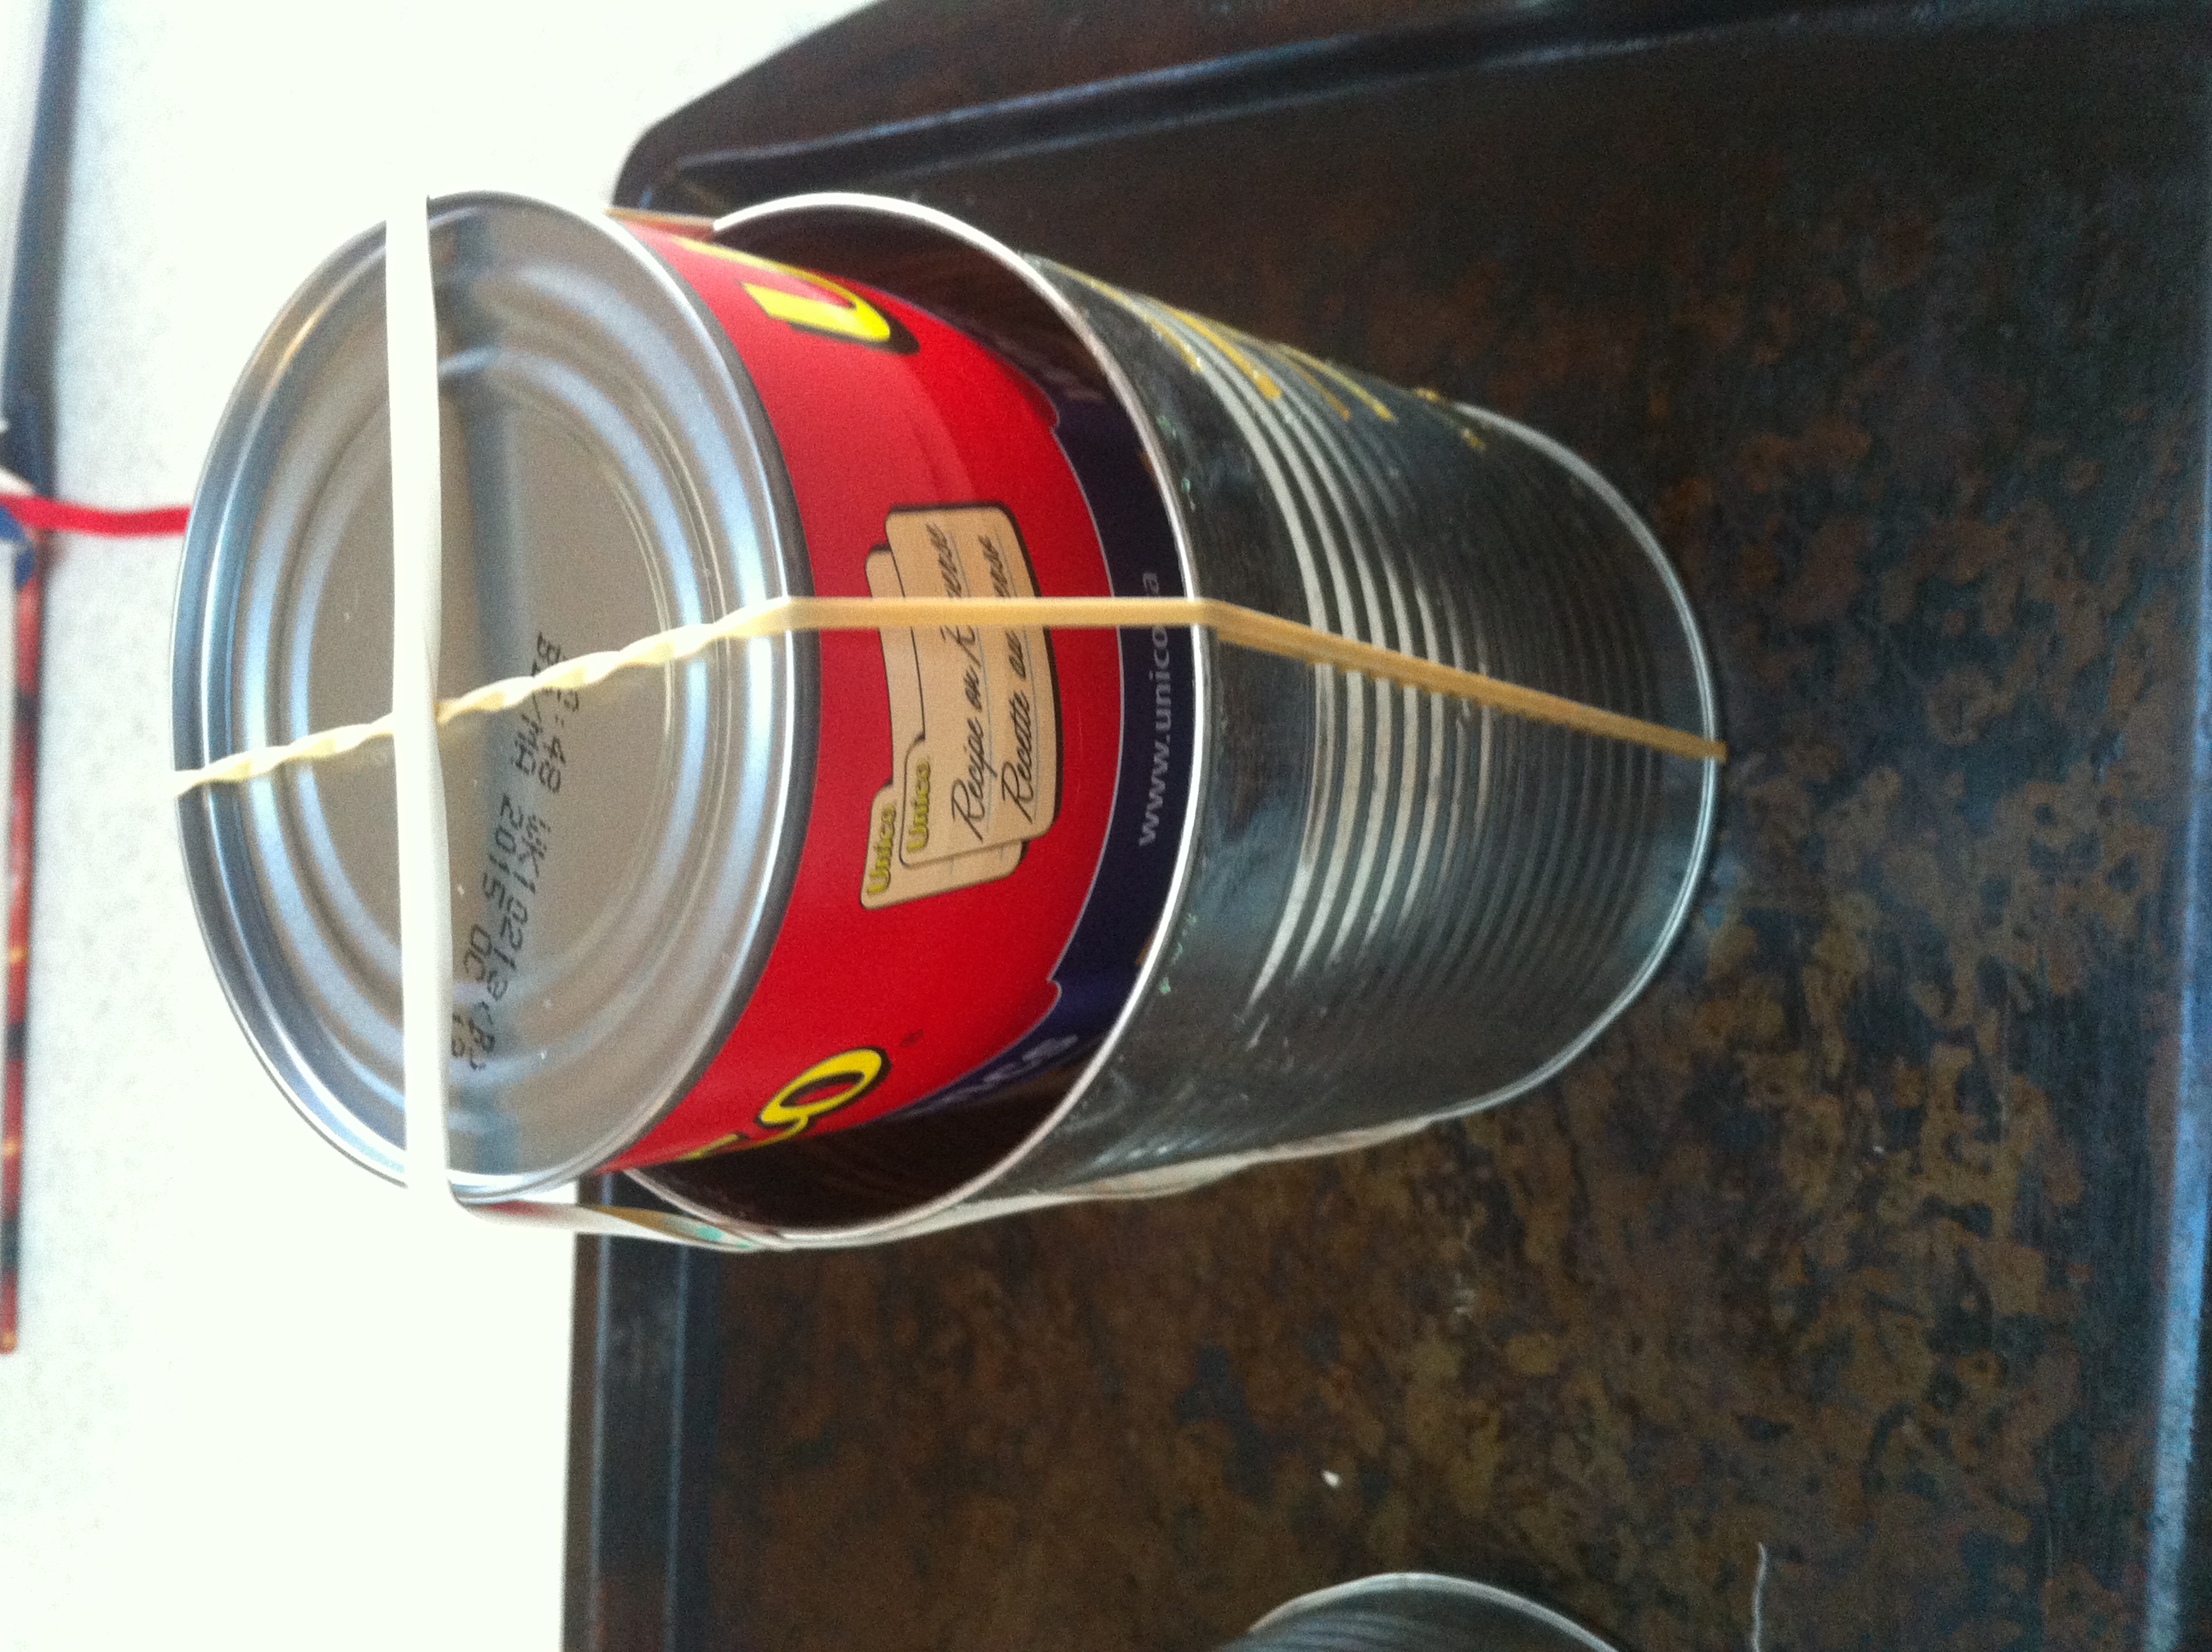
Put your weight (the smaller can) on top and wrap elastics around the cans to press the weight down helping to press out more water. I would do this step differently next time. Van Boven, in her directions, used a piece of elastic that she’d tied together, securing the two cans to a plate. I think this would work better because it allows you to continue to tighten the elastic as time goes on. Put your cans in the fridge and allow your cheese to press for 12 hours, tightening your elastic from time to time.
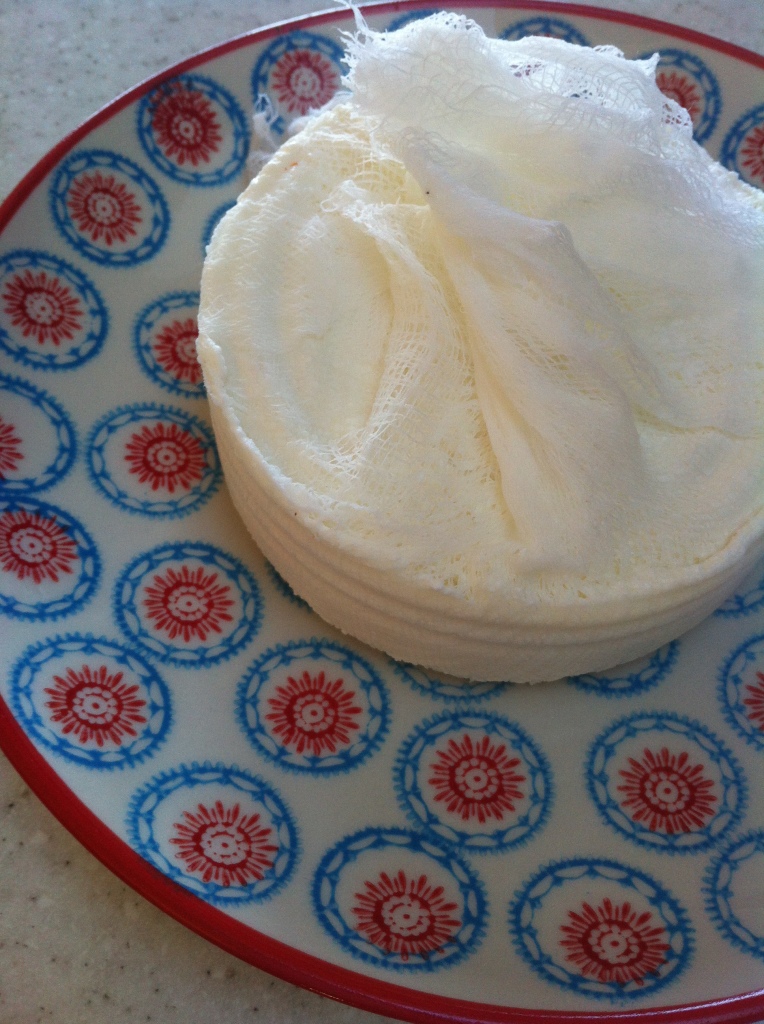
After the 12 hours is up, remove your cans from the fridge and remove the cheese. From here you can eat it as is, or you can roll it in herbs and spices, like roasted coriander seeds or jalapeno peppers, or top it with some nice olive oil or paprika.
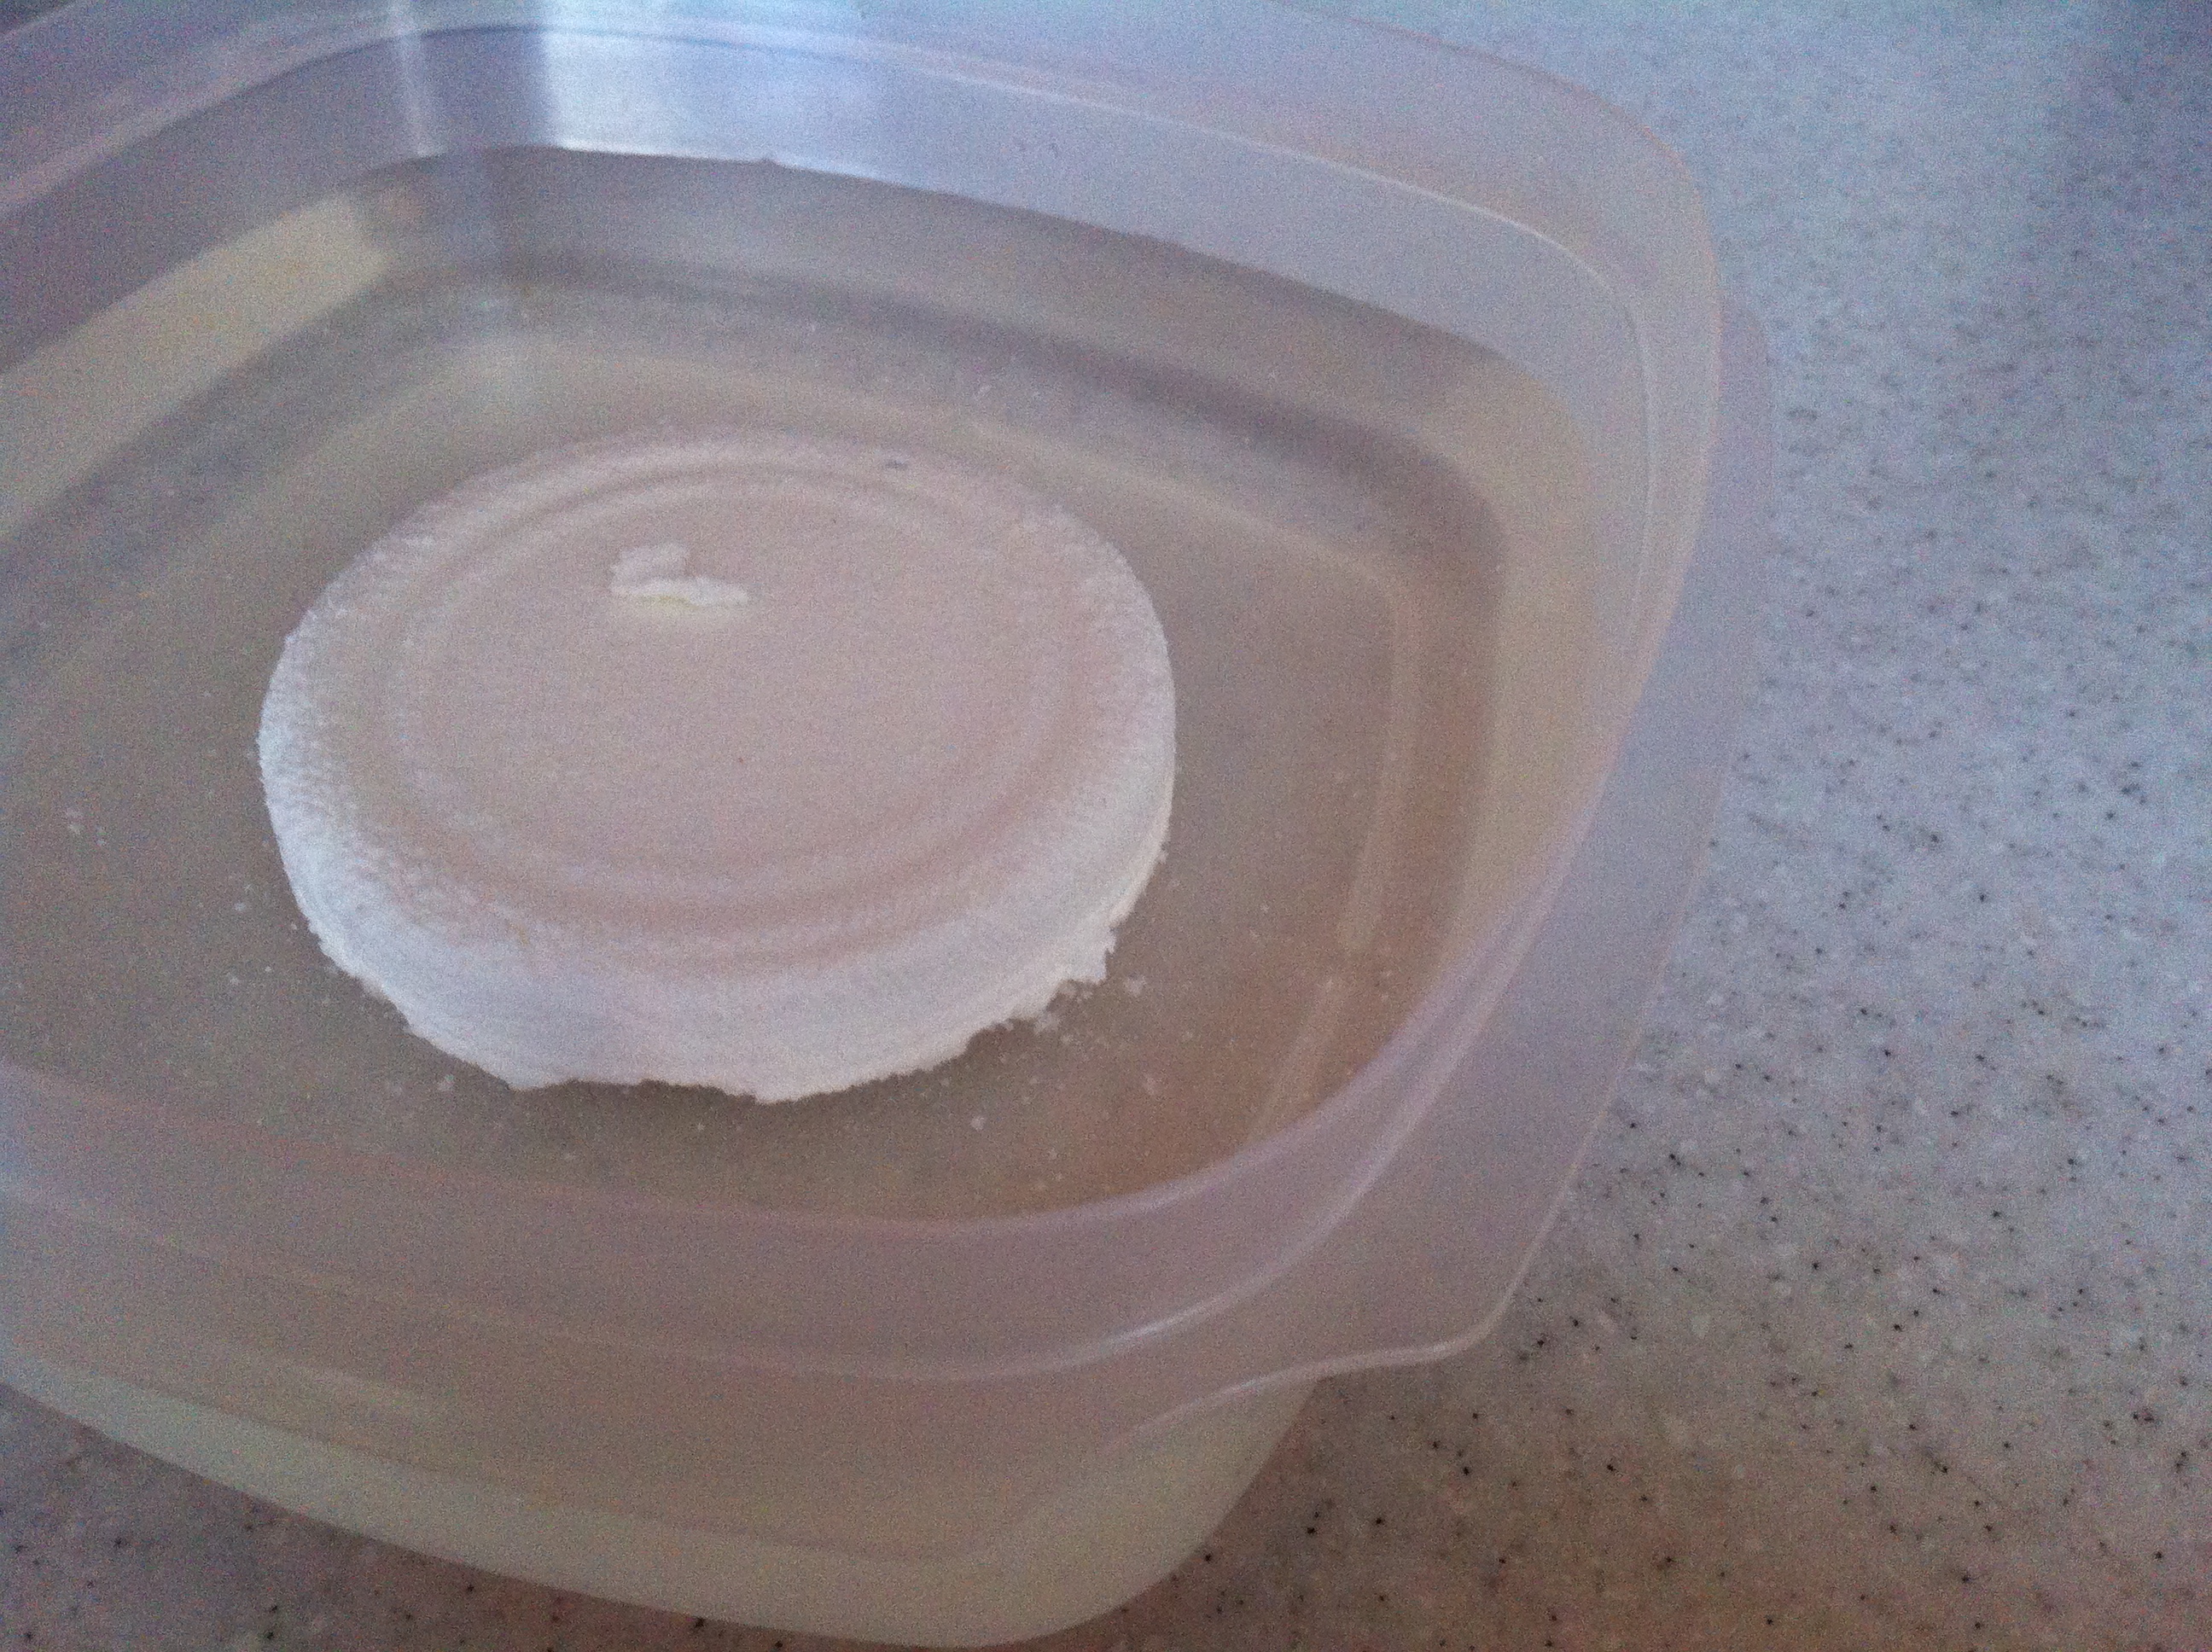
If you want to give your cheese even more flavour, try “pickling” it. According to Van Boven, this gives the cheese a different structure and also helps intensify the flavour. Because I didn’t remove enough of the liquid in the pressing process, mine went a bit mushy in the pickling, but it did taste delicious.





No Comments